Blog · Guides
How to Set Up a Remote Mac mini
A first-day checklist for a headless Mac mini: accounts, SSH keys, firewall, pmset energy settings, sharing toggles, Homebrew, backups, update strategy and monitoring.
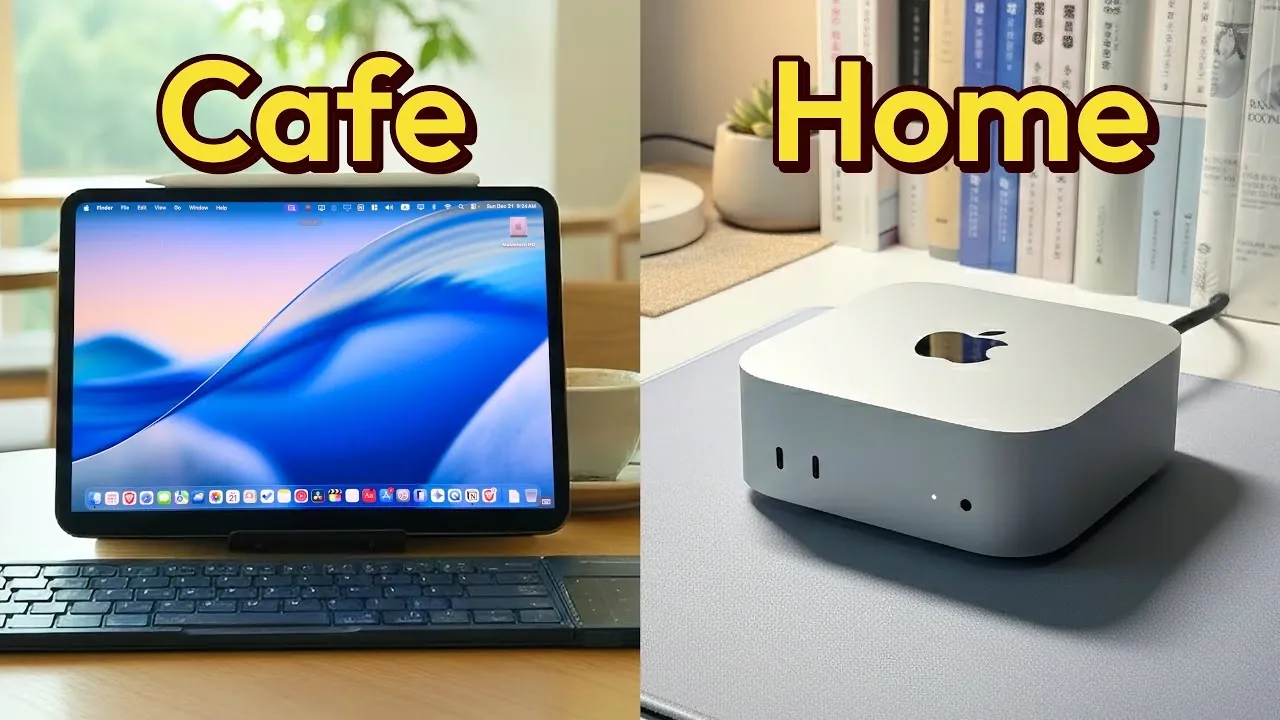
Setting up a remote Mac mini well on day one saves you from most of the problems that show up on day ninety. This is the checklist we would follow on a fresh headless Mac mini, with commands checked against current macOS.
Before you start
On Hatmac, we set up the Mac after payment and email you when it is ready. The access details appear under "My Macs" in your account, with the remote methods configured for that machine. Two rules for everything below:
- Keep one working session open while you change SSH, firewall or sharing settings. Test changes from a second session before closing the first.
- Do not turn off the access method you are using. If you want to change methods, open a support ticket first.
Commands below are for zsh on Apple silicon. Lines starting with sudo ask for your admin password.
1. Users and admin accounts
Change the password you were given to one only you know: run passwd, or use System Settings, Users and Groups. Then decide who needs admin rights. A good pattern for a server:
- One admin account for you, used for setup and updates.
- A standard account for services such as a CI runner or an agent, so a mistake in a job cannot change system settings.
Create the standard account in System Settings, Users and Groups. To see who is in the admin group:
dscl . -read /Groups/admin GroupMembership2. SSH keys instead of passwords
Turn on Remote Login in System Settings, General, Sharing if it is not already on. Use the info button next to it to limit access to the users who need it. Apple's guide to allowing remote access to your Mac covers the options.
From your own computer, create a key and copy it to the Mac:
ssh-keygen -t ed25519 -C "my-laptop"
ssh-copy-id dev@your-mac
On Windows, append the contents of your .pub file to ~/.ssh/authorized_keys on the Mac by hand. Once key login works, turn off password login. macOS reads extra settings from /etc/ssh/sshd_config.d/, and the first value sshd reads for a setting wins, so use a name that sorts early:
sudo tee /etc/ssh/sshd_config.d/010-hardening.conf <<'EOF'
PasswordAuthentication no
KbdInteractiveAuthentication no
PermitRootLogin no
EOF
sudo sshd -t
sshd -t checks the configuration and prints nothing if it is valid. Confirm the settings took effect with sudo sshd -T | grep -i authentication, and check that /etc/ssh/sshd_config still has its Include /etc/ssh/sshd_config.d/* line. Open a new SSH session to confirm key login still works before you close the old one.
3. Firewall
Turn on the macOS application firewall and stealth mode, which stops the Mac answering pings and probes on closed ports:
sudo /usr/libexec/ApplicationFirewall/socketfilterfw --setglobalstate on
sudo /usr/libexec/ApplicationFirewall/socketfilterfw --setstealthmode on
/usr/libexec/ApplicationFirewall/socketfilterfw --getglobalstate
Do not turn on "Block all incoming connections". It blocks sharing services, including the ones you use to reach the Mac. Keep services such as Ollama, dashboards or agent UIs bound to 127.0.0.1 and reach them through an SSH tunnel rather than opening them to the internet.
4. Energy: never sleep, restart after power loss
A server that sleeps is a server you cannot reach. Set the system, disk and display to never sleep, and turn on automatic restart after a power failure and wake for network access:
sudo pmset -a sleep 0 disksleep 0 displaysleep 0
sudo pmset -a autorestart 1 womp 1
pmset -g
pmset -g shows the settings in use. The same options appear in System Settings, Energy, as "Prevent automatic sleeping when the display is off", "Wake for network access" and "Start up automatically after a power failure". You can also ask macOS to restart after a system freeze:
sudo systemsetup -setrestartfreeze onOn recent macOS, systemsetup may say it needs Full Disk Access. Grant it to Terminal in Privacy and Security, or skip this one.
5. Remote Login and Screen Sharing
Both live in System Settings, General, Sharing. Remote Login gives you SSH and SFTP. Screen Sharing gives you a VNC-based desktop. Turn on only what you use, and limit each to specific users. If you use Screen Sharing from outside a Mac, connect through an SSH tunnel instead of exposing port 5900:
ssh -L 5901:localhost:5900 dev@your-macThen point your VNC viewer at localhost:5901. For a device-by-device view of clients, see how to access a Mac online from any device.
6. Homebrew and your toolchain
Install Homebrew with the command from brew.sh, then add it to your shell:
/bin/bash -c "$(curl -fsSL https://raw.githubusercontent.com/Homebrew/install/HEAD/install.sh)"
echo 'eval "$(/opt/homebrew/bin/brew shellenv)"' >> ~/.zprofile
eval "$(/opt/homebrew/bin/brew shellenv)"
Keep a Brewfile in a Git repository and install from it with brew bundle. If you ever rebuild the Mac or add a second one, the same file gives you the same tools.
7. Backups
A remote Mac has no USB drive on your desk, so plan backups on purpose:
- Code and config in Git. Your Brewfile, dotfiles, launchd jobs and scripts should all be in a repository.
- Time Machine to a network share. Time Machine can back up to an SMB share you control. Check it with
tmutil destinationinfoandtmutil latestbackup. - File-level backup to object storage. Tools such as restic (
brew install restic) send encrypted, versioned backups to storage you choose.
Test a restore once. A backup you have never restored is a guess.
A note on FileVault: on a headless Mac, a restart with FileVault on can wait for an unlock before your usual remote tools start. Recent macOS versions add ways to unlock over SSH, but check how it behaves on your setup, and talk to us before turning it on.
8. An update strategy
Unplanned restarts are the main risk on a remote Mac. In System Settings, General, Software Update, open Automatic updates and choose:
- On: security responses and system files, so urgent fixes arrive.
- Off: automatic installation of macOS updates, so restarts happen when you choose.
Check for updates from SSH with softwareupdate --list, then install during a quiet window. Install major macOS versions after your tools support them, especially Xcode, which ties to specific macOS versions. Run brew update && brew upgrade on a schedule you control.
9. Monitoring
A few built-in commands answer most "is it healthy?" questions:
uptime
df -h /
memory_pressure
top -l 1 -o mem -n 10
last reboot | head
For alerts, add a small launchd job or cron entry that calls a heartbeat URL from your monitoring service every few minutes. If the pings stop, you know before your users do. Watch free disk space in particular: Xcode, Simulator runtimes and model files fill a 256GB SSD quickly.
Remote Mac mini setup: a one-page checklist
- Change the password and review admin users.
- Add SSH keys, then disable password login.
- Turn on the firewall and stealth mode.
- Set pmset for no sleep, auto restart and wake on network.
- Limit Remote Login and Screen Sharing to named users.
- Install Homebrew from a Brewfile.
- Set up and test a backup.
- Choose security updates on, automatic macOS installs off.
- Add a heartbeat and a disk space check.
Next, put the Mac to work: our guides to iOS CI/CD on a cloud Mac mini and an Ollama server on a Mac mini start where this one ends. Machine options are on Mac mini rental.