Blog · Guides
How to Rent a Mac Online
A practical walkthrough for renting a Mac online: size the workload, pick a machine and term, choose IP type, pay, log in, secure it, install tools, back up and renew.
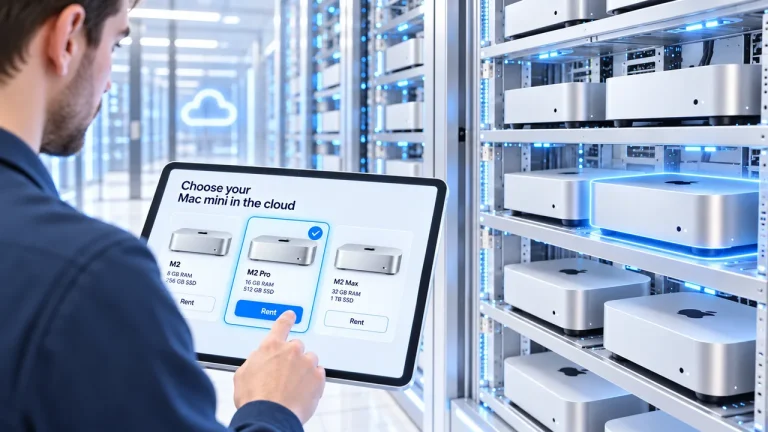
Renting a Mac online takes a few decisions and one checkout; getting the most from it takes a good first hour. This walkthrough covers both, in the order you will do them.
Step 1: Decide what the Mac will do
Write one line describing the main job. It decides everything that follows.
- "Build and ship our iOS app with Xcode."
- "Run a GitHub Actions runner for macOS jobs."
- "Serve a local language model to my team."
- "Keep an AI agent running around the clock."
- "Use Mac apps from my Windows laptop."
Then note what it needs: how much memory, how much disk, whether it must stay on, and whether anyone else will log in.
Step 2: Pick the machine
Size memory first, then storage, then the chip.
- Light development or desktop use: Mac mini M4 or M6 with 16GB and 256GB.
- Xcode with several Simulators, busy CI, or models up to roughly 14B: Mac mini M6 with 24GB and 512GB, our most popular configuration.
- Heavier builds and services: Mac mini M5 Pro with 24GB and 512GB.
- Models around the 30B class: Mac Studio M5 Max with 36GB.
- 70B-class 4-bit models: Mac Studio M5 Ultra with 96GB and 1TB.
Model sizes are rough. A 4-bit model needs roughly 0.5 to 0.7 GB per billion parameters plus room for context, and longer contexts need more. If you are unsure between a Mac mini and a Mac Studio, read Mac mini vs Mac Studio as a server. More memory or storage is available on request.
Step 3: Pick the term
Mac mini M4
16GB · 256GB SSD
Everyday iOS builds, CI runners and remote macOS.
from $119/mo
- Monthly$149/mo
- 6 months$139/mo
- 12 months$119/mo
Mac mini M6
Most popular16GB · 256GB SSD
Newer chip for faster compiles and test runs.
from $129/mo
- Monthly$169/mo
- 6 months$159/mo
- 12 months$129/mo
Mac mini M6
24GB · 512GB SSD
More memory and storage for larger projects and caches.
from $229/mo
- Monthly$269/mo
- 6 months$259/mo
- 12 months$229/mo
Prices in USD per month for each machine's starting configuration. More memory, storage or several machines? Ask us.
Monthly, 6-month and 12-month terms are available; longer terms cost less per month. Monthly is offered on the Mac mini M4 and M6. The M5 Pro, M5 Max and M5 Ultra are 6- and 12-month terms only. If you are not sure the Mac fits your workflow, start monthly and change term at renewal. For the full maths, see how much an online Mac costs.
Step 4: Choose IP type and location
At checkout, choose an IP type: Static IP or Residential IP, as offered. Choose a node location where one is offered.
- Static IP for CI runners, servers, SSH access and firewall allow-lists.
- Residential IP where you need a consumer-style address. Availability is confirmed per country; see Mac mini residential IP.
- Location: close to you for a smoother desktop, or close to the services your Mac talks to.
Step 5: Pay
Every checkout is in USD. Pay by card (Visa, Mastercard, Amex) through Stripe, by PayPal, or with Bitcoin or USDT. You can also top up account credit and pay invoices from it.
Step 6: Receive access
After payment we set up the Mac and email you when it is ready. Open "My Macs" in your account to see the access details and the remote access methods configured for your machine. These can include DeskIn, ToDesk, AnyDesk, RustDesk, TeamViewer, Chrome Remote Desktop, Parsec, SSH and Screen Sharing (VNC). Our remote access guide explains each one, and setting up a remote Mac mini goes deeper on configuration.
Step 7: First login checklist
Change the password
Change the login password in System Settings, under Users & Groups. Store the new one in your password manager. If a remote access tool uses the macOS password, use the new one from then on.
Use SSH keys
If SSH is configured, add your public key to ~/.ssh/authorized_keys and connect with the key. Keep the password as a fallback until you have confirmed key login works.
mkdir -p ~/.ssh && chmod 700 ~/.ssh
nano ~/.ssh/authorized_keys   # paste your public key
chmod 600 ~/.ssh/authorized_keys
Think before turning on FileVault
FileVault encrypts the startup disk, which is good practice on a laptop. On a remote server it has a trade-off. After a restart, a FileVault-protected Mac waits at a login screen to unlock the disk before macOS fully starts, and most remote desktop tools cannot reach it at that point. An unplanned restart, such as after a software update, can leave the Mac unreachable until someone unlocks it.
If your data needs encryption at rest, weigh that against remote availability. Alternatives include encrypting sensitive project folders or volumes yourself, and keeping secrets in the keychain or a secrets manager. If you want FileVault, open a support ticket first so we can discuss how restarts will be handled for your machine.
Leave the access path alone
Do not turn off the sharing settings, remote access apps or network settings that your connection depends on. Avoid settings that put the Mac to sleep. If you change something and lose access, open a support ticket from your account.
Check updates deliberately
Install macOS updates when you can afford a restart, not in the middle of a release. Check that Xcode and your toolchain support a new macOS version before you upgrade.
Step 8: Install your tools
You have a full macOS desktop and terminal, so set up the Mac like your own. Start with the Xcode command line tools and Homebrew, which installs to /opt/homebrew on Apple silicon:
xcode-select --install
/bin/bash -c "$(curl -fsSL https://raw.githubusercontent.com/Homebrew/install/HEAD/install.sh)"
echo 'eval "$(/opt/homebrew/bin/brew shellenv)"' >> ~/.zprofile
eval "$(/opt/homebrew/bin/brew shellenv)"
The installer command comes from brew.sh; check there for the current version. Then add what your job needs: full Xcode from the App Store or Apple's developer site, a CI runner, Ollama for local models, or a coding agent. Pages that help: GitHub Actions Mac runner, Ollama on a Mac mini server and Claude Code on Mac mini.
Step 9: Set up backups
A rented Mac is a server. Keep anything you cannot rebuild somewhere else.
- Push code to a remote Git host often.
- Export signing certificates and keep them in a secure store you control.
- Keep build artifacts in an artifact store or object storage.
- Script your setup, for example with a Brewfile, so a fresh Mac takes minutes of your attention, not a day.
- Copy configuration and data you care about to your own storage on a schedule.
Step 10: Renew, change or cancel
Renewal invoices are issued before the renewal date, with reminders. In your account you can renew, change term, or cancel at the end of the term. Before a term ends, copy off everything you want to keep. If you need more machines, a bigger configuration or a bulk quote, tell us what you need.
FAQ
How long does it take to get my Mac?
After payment we set it up and email you. The access details then appear under "My Macs" in your account.
Should I enable FileVault on a rented Mac?
It depends. FileVault protects data at rest, but after a restart the Mac waits for the disk to be unlocked and remote tools may not connect. Open a ticket before enabling it.
Can I get help if I lock myself out?
Yes. Open a support ticket from your account, in English or Simplified Chinese.